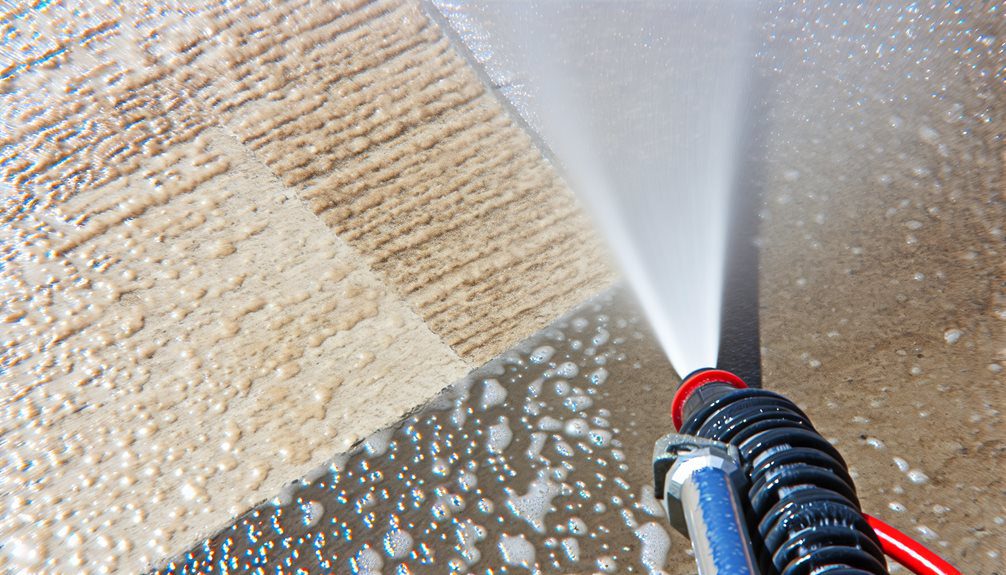
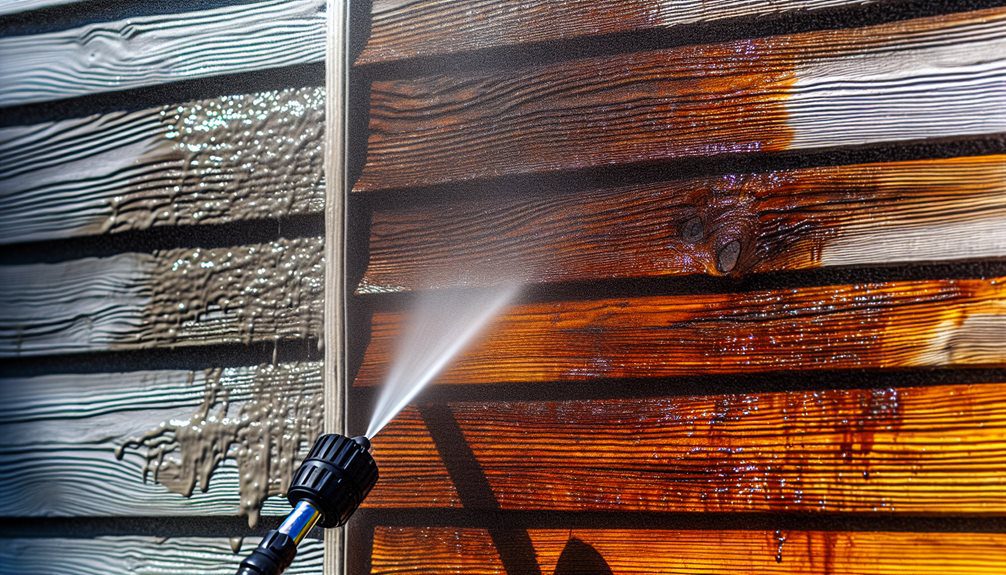
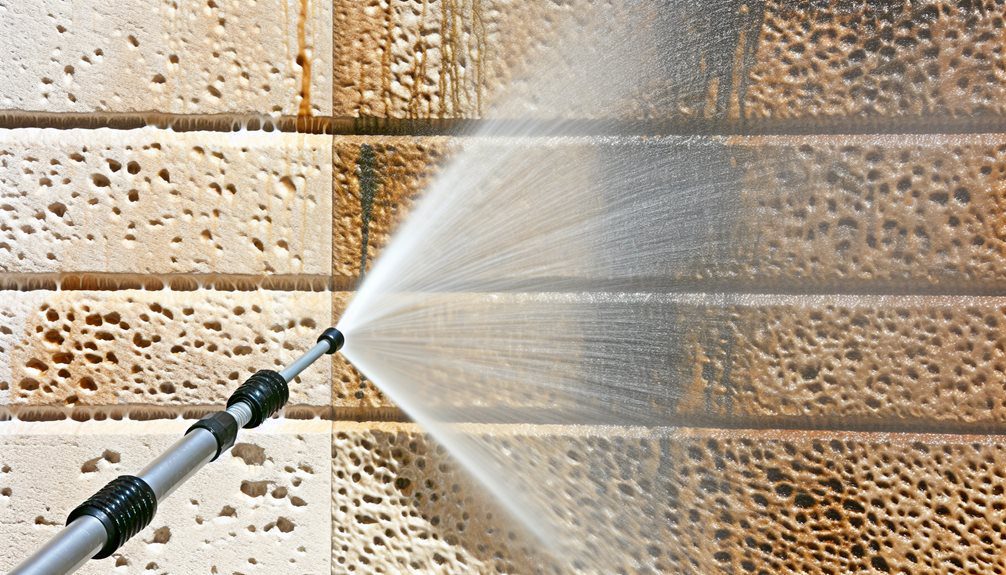
You'll need to adjust your pressure washing techniques based on specific building materials. For brick and masonry, use 500-1200 PSI with appropriate cleaning solutions and a 12-18 inch nozzle distance. Metal siding requires lower pressure (1500-2000 PSI) and pH-neutral cleaners to prevent corrosion. Concrete can handle higher pressure (2500-3500 PSI), while glass and windows need much lower settings (500-1000 PSI) with a 3-4 foot distance. Wood exteriors demand gentle treatment at 500-600 PSI, following the grain pattern. Each surface type has its own dwell times, cleaning solutions, and post-treatment requirements that'll guarantee peak results and surface longevity.
Brick and Masonry Cleaning Methods
Professional brick and masonry cleaning requires a systematic approach that balances cleaning effectiveness with surface protection. You'll need to start by evaluating the surface condition, identifying specific issues like brick efflorescence removal needs, and checking masonry joint maintenance requirements before beginning any power washing work.
Begin with a low-pressure test area to determine the ideal PSI setting for your specific surface. You'll want to maintain a pressure range between 500-1200 PSI for most brick and masonry applications, adjusting based on the surface's age and condition. Work in small, manageable sections using overlapping strokes at a 45-degree angle to prevent streaking.
For stubborn stains and efflorescence, you'll need to apply an appropriate cleaning solution specifically designed for masonry surfaces. Let it dwell for 5-10 minutes, but don't allow it to dry completely. When addressing masonry joint maintenance, you'll need to be particularly careful with the pressure settings to avoid damaging the mortar. Always work from top to bottom, maintaining a consistent distance of 12-18 inches between the nozzle and surface to guarantee uniform cleaning results. Additionally, it's crucial to ensure that your cleaning methods comply with municipal codes and inspections to avoid any legal issues.
Metal Siding Treatment Strategies
Three key factors determine successful metal siding cleaning: pressure control, chemical selection, and technique precision. When cleaning metal siding, you'll need to maintain lower pressure settings of 1500-2000 PSI to prevent damage while ensuring effective cleaning. Start by testing your pressure on a small, inconspicuous area to confirm it won't harm the surface.
For metal corrosion prevention, select pH-neutral cleaners specifically designed for metal surfaces. You'll want to avoid acidic solutions that can accelerate oxidation and compromise the siding's integrity. Apply your cleaning solution from bottom to top, allowing it to dwell for 5-10 minutes without drying.
Your metal finishing techniques should include steady, overlapping strokes at a 45-degree angle, maintaining a consistent distance of 12-16 inches from the surface. If you're dealing with stubborn stains, don't increase pressure; instead, use appropriate cleaning agents and multiple passes. After cleaning, apply a protective sealant to guard against future oxidation and environmental damage. Remember to inspect all caulking and seals during the cleaning process, as power washing can reveal areas needing maintenance.
Concrete Surface Power Washing

Most concrete surfaces require higher pressure settings between 2500-3500 PSI for effective cleaning, depending on the level of contamination and surface hardness. You'll need to maintain a consistent distance of 12-18 inches between the nozzle and surface while working in systematic, overlapping patterns to guarantee uniform cleaning. For concrete stain removal, you'll want to pre-treat stubborn areas with appropriate cleaning solutions 10-15 minutes before power washing.
When tackling commercial concrete surfaces, you'll find that a 15-degree nozzle works best for general cleaning, while a 25-degree tip is safer for more delicate areas. Don't forget to address expansion joints and corners where debris typically accumulates. After cleaning, you'll need to allow 24-48 hours of drying time before concrete surface sealing can begin.
If you're dealing with oil stains or deep-set contaminants, you'll achieve better results by applying a degreaser and using a surface cleaner attachment. Remember to always work from the highest point downward to prevent streaking, and guarantee proper drainage to avoid water pooling that could lead to surface damage.
Glass and Window Cleaning Techniques
When cleaning commercial windows and glass surfaces, you'll need to reduce the pressure considerably to 500-1000 PSI to prevent damage while maintaining effectiveness. Always start from the top and work your way down, using overlapping strokes to prevent window streaking. You'll want to maintain a consistent distance of about 3-4 feet from the glass surface and keep the spray nozzle at a 45-degree angle.
For buildings with special glass coatings or treatments, it's crucial to verify the manufacturer's cleaning specifications before beginning. Use a fan tip nozzle with a 40-degree spray pattern, and don't forget to pre-treat stubborn areas with an appropriate glass cleaner. You'll find that warm water often works better than cold for removing tough dirt and grime.
If you're working in direct sunlight, try to schedule your cleaning early morning or late afternoon to prevent premature drying, which can leave residue marks. For multi-story buildings, confirm you're using proper fall protection equipment and that your power washing equipment includes an extension wand suitable for reaching higher floors safely and effectively.
Wood Exterior Care Guidelines

Moving from glass to wooden surfaces requires a complete shift in pressure and technique. When power washing wooden exteriors, you'll need to greatly reduce the pressure to 500-600 PSI to prevent splintering or grain damage. Start by positioning yourself at a 45-degree angle, maintaining a distance of about 3 feet from the surface.
Before applying any pressure, you'll want to protect the natural wood finishes by covering nearby plants and sealing any exposed electrical fixtures. Apply a wood-specific cleaning solution using a low-pressure nozzle, working from bottom to top to prevent streaking. Let the cleaner sit for 5-10 minutes, but don't allow it to dry completely.
Following proper wood preservation techniques means being cautious with older surfaces and watching for signs of wear. You'll need to move the spray in steady, overlapping strokes, always following the direction of the wood grain. If you notice any fuzzing or raised grain, immediately increase your distance from the surface. After cleaning, allow 48 hours of drying time before applying any sealants or stains. This helps prevent moisture from becoming trapped beneath new protective coatings.
Stucco and EIFS Applications
When pressure washing stucco and EIFS surfaces, you'll need to adjust your pressure settings to 500-800 PSI and maintain a 24-36 inch distance to prevent damage to these sensitive materials. Your surface preparation must include masking nearby windows and doors, removing loose debris, and checking for cracks or unstable areas that could worsen under water pressure. While hot water methods can be effective for removing stubborn stains and biological growth, you'll typically achieve excellent results using cold water techniques combined with appropriate cleaning solutions designed specifically for these exterior finishes.
Pressure Settings and Distance
Proper pressure settings and distance control make or break successful stucco and EIFS cleaning operations. You'll need to master precise pressure adjustment techniques to avoid damaging these sensitive surfaces. Start with a lower pressure setting of 800-1,200 PSI for EIFS and 1,200-1,500 PSI for traditional stucco, adjusting gradually as needed based on the surface's condition and age.
Nozzle distance considerations are equally critical when working with these materials. Keep your spray tip 12-24 inches away from EIFS surfaces and 18-24 inches from stucco. You'll want to maintain a consistent distance throughout the cleaning process, moving the wand in steady, overlapping strokes. Remember that closer isn't better – getting too close can create visible damage that's expensive to repair.
Test your pressure settings on a small, inconspicuous area first. If you're seeing any surface deterioration, immediately increase your distance or reduce pressure. You'll know you've found the right combination when dirt and grime are removed without disturbing the surface texture. For heavily soiled areas, it's better to make multiple passes at lower pressure than risk damage with a more aggressive approach.
Surface Preparation Steps
Before starting any power washing project on stucco or EIFS surfaces, thorough preparation sets the foundation for effective cleaning. You'll need to inspect the entire surface for cracks, loose material, or existing surface damage that could worsen during the cleaning process. Document these areas with photos and make necessary repairs before proceeding.
Next, you'll want to establish a proper cleaning frequency schedule based on your building's exposure to environmental factors. Most commercial buildings require power washing every 12-18 months, but high-traffic areas may need more frequent attention. Cover all electrical outlets, light fixtures, and security cameras with waterproof materials, and seal windows and doors to prevent water infiltration.
Remove any loose debris using a soft-bristled brush, and clear the surrounding area of obstacles that could impede your movement during cleaning. You'll also need to protect nearby landscaping by covering plants with plastic sheeting. Test your cleaning solution on a small, inconspicuous area to verify it won't discolor or damage the surface. Once you've completed these preparatory steps, you're ready to begin the actual power washing process.
Hot Vs Cold Methods
Temperature selection plays an essential role in power washing stucco and EIFS surfaces. When you're dealing with these sensitive exterior finishes, understanding the distinct advantages of hot and cold methods will help you achieve ideal results while protecting the substrate.
Hot water benefits include superior grease and oil removal, particularly in high-traffic areas where environmental pollutants have accumulated. You'll find that temperatures between 150-180°F break down stubborn stains more effectively than cold water, reducing the need for harsh chemicals. This method also cuts through biological growth like algae and mold, which frequently develop on shaded stucco surfaces.
Cold water efficiency shines when you're working with lighter soiling or performing routine maintenance. You'll want to use cold water techniques on newer EIFS installations or when dealing with delicate decorative elements, as the lower temperature minimizes the risk of thermal shock to the material. Additionally, cold water applications consume less energy and prove more cost-effective for large-scale projects where heavy soil removal isn't the primary concern.
Always test a small, inconspicuous area first to verify your chosen temperature won't compromise the surface integrity or finish adhesion.
Stone Surface Restoration Procedures

Before initiating stone surface restoration, you'll need to carefully inspect the material for cracks, deterioration, and previous repairs to determine the appropriate cleaning approach. You should select pressure levels between 800-1500 PSI for softer stones like limestone and 1500-2500 PSI for harder materials like granite, always testing in an inconspicuous area first. Once you've completed the power washing process, it's essential to apply a penetrating sealer to protect the restored stone surface and prevent moisture infiltration. Additionally, applying a siloxane clearcoat can further enhance the stone's resistance to moisture and preserve its appearance over time.
Pre-Treatment Surface Assessment
A thorough surface assessment forms the critical foundation for successful stone restoration projects. You'll need to conduct a detailed surface evaluation before applying any cleaning solutions or starting power washing procedures. Begin by identifying the specific type of stone and its current condition, including any signs of deterioration, staining, or previous treatments.
During your inspection, you'll want to document areas of concern, such as cracks, spalling, or loose mortar joints. Test the stone's stability by gently tapping the surface to detect hollow spots or delamination. It is crucial to check for material compatibility between existing sealants and your planned cleaning agents to prevent adverse reactions.
You should also evaluate environmental factors that might affect the cleaning process. Consider the building's exposure to weather, pollution levels, and any biological growth present. Take moisture readings to determine if there are underlying water issues, and photograph all damaged areas for your project documentation. This detailed assessment will help you develop the most effective cleaning strategy while protecting the stone's integrity and ensuring the best outcomes for your restoration project.
Pressure Selection Guidelines
Proper pressure selection stands as the cornerstone of effective stone surface restoration. You'll need to understand that different pressure types correspond to specific stone compositions and conditions. For natural stone surfaces, start with a lower pressure setting of 800-1200 PSI to prevent damage, while manufactured stone can typically withstand 1500-2000 PSI.
When working with limestone or sandstone, you'll want to maintain pressure levels below 1500 PSI and keep your spray nozzle at least 12 inches from the surface. For granite or slate, you can increase pressure up to 2000 PSI, but always test a small, inconspicuous area first. Equipment maintenance plays an essential role in achieving consistent pressure levels – regularly check your pressure gauge, nozzles, and hoses for wear.
You'll find that adjustable pressure washers offer the most versatility for commercial projects. Keep in mind that factors like surface age, previous treatments, and environmental exposure will influence your pressure selection. If you're dealing with delicate ornamental stonework or historical facades, consider reducing pressure by 25% from standard recommendations and increasing your working distance to guarantee safe, effective cleaning.
Sealing After Power Washing
Selecting the right sealer marks an essential step in protecting newly power-washed stone surfaces from environmental damage and staining. You'll need to evaluate your stone's porosity and intended use before choosing between penetrating and topical sealing options. For high-traffic commercial areas, you'll want to prioritize durability and stain resistance.
Before applying any sealer, verify your stone surface is completely dry, typically waiting 24-48 hours after power washing. You'll find that proper application techniques make a significant difference in sealer performance. Start by testing the sealer on a small, inconspicuous area to confirm compatibility and desired results. Apply thin, even coats using a microfiber roller or low-pressure sprayer, working in manageable sections to maintain a wet edge.
For maximum protection, you'll often need multiple coats – typically two to three, depending on the stone's porosity and the sealer manufacturer's specifications. Allow each coat to dry completely before applying subsequent layers. Remember to maintain adequate ventilation during application and curing. You'll know you've achieved proper coverage when water beads on the surface rather than absorbing into the stone.
Frequently Asked Questions
How Often Should Commercial Buildings Undergo Professional Power Washing Maintenance?
You'll want to establish a power washing frequency based on your building's specific needs. Generally, you should schedule professional cleaning every 6-12 months, though high-traffic areas might need quarterly maintenance scheduling. If you're in an urban area or near construction sites, you'll need more frequent cleanings. Watch for signs like visible grime, mold growth, or discoloration – these indicate it's time for a wash, regardless of your regular schedule.
What Environmental Regulations Apply to Power Washing Wastewater Disposal?
You'll need to comply with local and federal regulations for wastewater management when disposing of power washing runoff. Don't let contaminated water enter storm drains or waterways – it's against EPA guidelines. You should collect wastewater using containment systems and dispose of it through approved sanitary sewer systems. For regulatory compliance, you'll want to check with your local environmental agency about specific permits and treatment requirements before beginning any power washing project.
Can Power Washing Damage Building Security Cameras and Electrical Fixtures?
Yes, high-pressure water can seriously damage your security cameras and electrical fixtures if you're not careful. For proper camera protection, you'll need to cover all surveillance equipment with waterproof bags or shields before starting. For fixture safety, it's crucial to seal all electrical outlets, switches, and junction boxes with waterproof covers. You'll also want to keep your spray nozzle at least 24 inches away from these sensitive areas to prevent water infiltration.
Which Seasonal Conditions Are Best for Power Washing Commercial Buildings?
You'll find the best power washing conditions during spring cleaning season when temperatures are consistently above 50°F. This timing lets you address winter maintenance issues while preparing your property for warmer months. You can also power wash during summer and early fall, but you'll want to avoid freezing temperatures that could create ice hazards. Schedule your cleaning on calm, overcast days to prevent rapid evaporation and guarantee even cleaning results.
How Long Should Tenants Expect the Power Washing Process to Take?
You'll find that power washing duration varies based on your building's size and condition. For a typical commercial space, you can expect the process to take 1-2 days. Tenant expectations should account for factors like building height, surface area, and level of dirt accumulation. Your contractor will provide a specific timeline, but it's best to plan for additional time if there are hard-to-reach areas or stubborn stains that need extra attention.