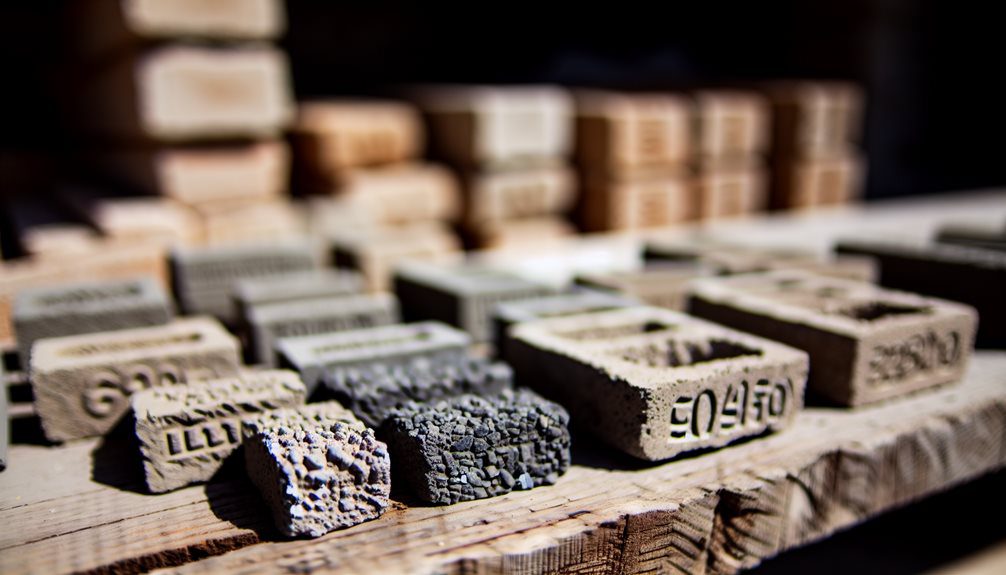
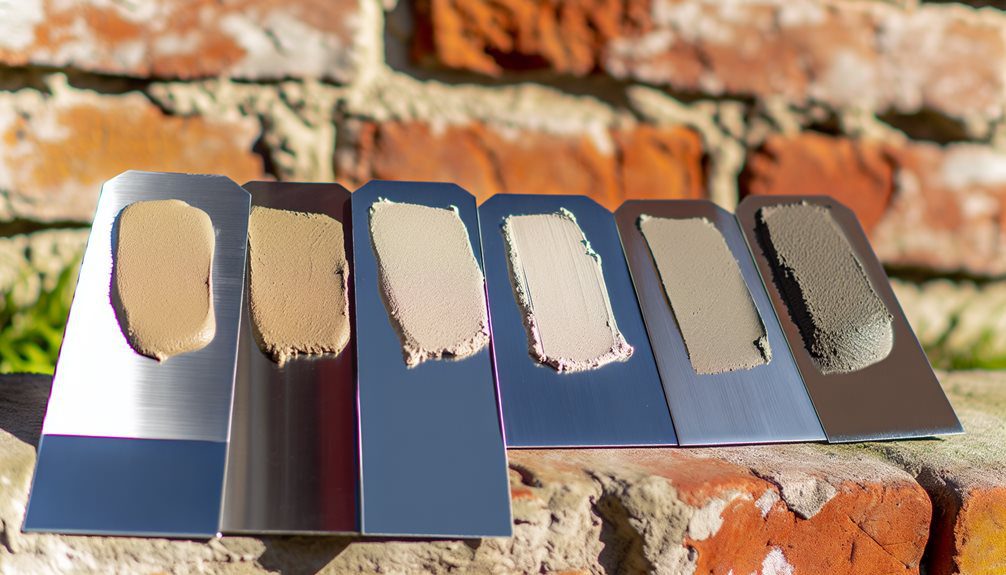
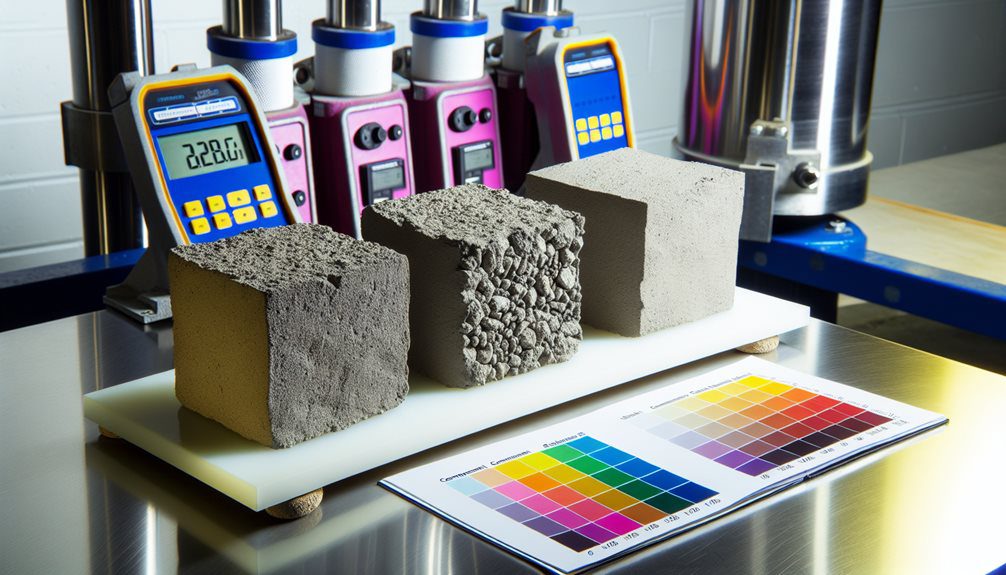
Selecting the right mortar for your commercial tuckpointing project depends on several critical factors. You'll need to match the mortar's compressive strength to your building's masonry material, with ASTM Types M, S, and N offering different strength levels from 2,500 to 750 psi. Consider your climate conditions carefully – coastal areas require water-resistant mortars, while freeze-thaw zones need air-entrained options. Don't overlook the existing mortar's composition and color matching requirements, as these guarantee structural integrity and visual cohesion. A professional laboratory analysis of your current mortar samples will reveal the specific properties you'll need to replicate for a successful restoration.
Understanding Historical Mortar Compositions
Understanding historical mortar compositions requires familiarity with traditional lime-based mixtures that were prevalent before Portland cement's introduction in the late 19th century. You'll find that these early mortar recipes typically consisted of lime putty, sand, and water, often incorporating local materials that gave buildings their distinct regional character.
When you're working with historic structures, you'll need to recognize that the historical importance of original mortar compositions extends beyond mere functionality. These traditional mixtures allowed buildings to "breathe," preventing moisture accumulation while accommodating natural structural movement. You'll discover that pre-1900s mortar recipes varied greatly by region and builder, with some incorporating additives like oyster shells, brick dust, or animal hair for enhanced performance.
To maintain authenticity in restoration work, you'll want to analyze the original mortar through laboratory testing. This will help you determine the precise ratio of components and identify any unique regional additives. By matching these historical compositions, you're ensuring that your tuckpointing work preserves both the structural integrity and architectural heritage of the building while maintaining its ability to manage moisture effectively. Additionally, understanding the importance of masonry restoration techniques will further enhance the quality and durability of your restoration efforts.
Modern Mortar Types and Properties
While historical mortars relied primarily on lime-based compositions, today's masonry industry offers a standardized range of mortar types classified by ASTM International as Types M, S, N, O, and K. You'll find Type M offers the highest compressive strength at 2,500 psi, making it ideal for heavy-load bearing walls and foundation work. Type S, with 1,800 psi strength, serves as your go-to choice for below-grade applications and exterior walls.
For most commercial tuckpointing projects, you'll want to use Type N mortar, which provides moderate strength (750 psi) and excellent workability. Type O (350 psi) and Type K (75 psi) are softer options you'll need for historic preservation work. Modern mortars also incorporate polymer additives that enhance water retention, flexibility, and bond strength. Additionally, choosing the right mortar type can significantly impact the structural integrity of your building, ensuring its longevity and performance.
You're now seeing more eco-friendly options entering the market, including mortars with recycled content and lower-carbon alternatives. These sustainable choices don't compromise on performance but help meet green building standards. When selecting your mortar type, you'll need to take into account factors like wall exposure, structural requirements, and existing masonry compatibility to guarantee a lasting repair.
Climate Impact on Material Selection

Because regional climate conditions directly affect masonry performance, you'll need to select mortar types that withstand your local weather patterns. In areas with frequent temperature fluctuations, you'll want to choose mortars with higher flexural strength to prevent cracking as materials expand and contract. Type N mortar works well in moderate climates, while Type S offers better protection in harsh environments.
Your building's exposure to moisture levels should guide your mortar selection. For coastal regions where salt spray is common, you'll need mortars with enhanced water resistance and lower absorption rates. Type M mortar, with its high compressive strength, provides excellent protection against moisture penetration in these challenging environments.
If you're working in freeze-thaw zones, select mortars with appropriate air entrainment to prevent deterioration. You'll find that Type O mortar isn't suitable for exterior applications in cold climates, as it lacks the durability to withstand repeated freezing cycles. Consider using Type S or Type N mortars with added air-entraining agents in these regions to guarantee your tuckpointing work maintains its integrity throughout seasonal changes. Additionally, proper moisture management is essential for prolonging the lifespan of your masonry work.
Structural Assessment Before Material Choice
Before selecting your tuckpointing mortar, you'll need to assess the overall structural integrity of your masonry wall, checking for any signs of serious deterioration or instability. You must examine the existing mortar joints for depth of deterioration, identify any cracking patterns, and evaluate the stability of individual masonry units. The current mortar's condition will reveal critical information about moisture patterns, structural movement, and stress points that directly influence your material selection. Additionally, it's important to consider professional masonry restoration services that can provide expert insights into the best practices for your specific building needs.
Evaluating Structural Integrity First
A thorough structural assessment serves as the foundation for any successful tuckpointing project. You'll need to conduct a detailed structural analysis before selecting your mortar type, as this evaluation will reveal critical issues that could affect your material choice and overall project success.
During your integrity assessment, you'll want to identify any underlying problems that could compromise your building's stability. Start by examining the existing mortar joints for signs of water damage, cracking patterns, or deterioration depth. You'll also need to assess the condition of your masonry units, checking for spalling, efflorescence, or displacement that could indicate more serious structural concerns.
As a building owner or facility manager, you're responsible for guaranteeing your structure's longevity. Document areas where previous repairs have been attempted, and note any movement in the building's foundation that could impact joint stability. If you discover significant structural issues during your assessment, you'll need to address these before proceeding with tuckpointing. This proactive approach helps you avoid costly repairs and guarantees your mortar selection will provide long-term performance for your building's specific conditions. Additionally, consider consulting with professionals who specialize in masonry restoration to ensure you make the best choices for your project.
Current Mortar Condition Analysis
The existing mortar's condition provides essential clues for selecting an appropriate replacement material. You'll need to examine multiple areas of your building's mortar joints, paying special attention to spots showing different levels of mortar degradation. Look for signs of crumbling, erosion, or discoloration, as these indicators help determine the original mortar's composition and its performance over time.
During your historical analysis, collect mortar samples from various locations, including both weathered and protected areas. You'll want to document the color, texture, and hardness of each sample. Test the mortar's compressive strength by attempting to scratch it with a metal tool – softer mortars will be easier to mark. If you're working with a historic structure, it's vital to identify whether previous tuckpointing repairs were performed, as this can affect your material selection.
Note areas where water infiltration has occurred, as this suggests the current mortar's limitations. Consider having samples professionally analyzed to determine the exact mix ratio of sand, lime, and cement. This detailed understanding of your current mortar's properties will guide you toward selecting a compatible replacement that guarantees long-term structural stability. Additionally, be aware that water penetration can severely compromise the integrity of split face block construction.
Color Matching and Aesthetic Considerations

Proper color matching stands as one of the most vital factors in successful tuckpointing, directly impacting your project's visual cohesion and historical authenticity. When you're selecting a mortar color, you'll need to reflect on both the existing mortar and the building's overall color palette. You can collect samples from less visible areas of your structure to guarantee an accurate match with the original mortar's shade and undertone.
The texture variation in your chosen mortar mix also plays a vital role in achieving a seamless blend. You'll want to examine how light interacts with both the existing and new mortar surfaces, as this can notably affect the perceived color match. Keep in mind that weathering will affect your mortar's appearance over time, so you might want to select a slightly darker shade that will eventually lighten to match the surrounding areas.
For historic buildings, you'll need to document the original mortar's composition and color before proceeding. Many manufacturers now offer custom color matching services, where they'll analyze your samples and create a specially formulated mix that replicates your building's distinctive characteristics. Additionally, consider consulting with a professional experienced in masonry restoration to ensure the best match and application technique.
Mortar Strength and Masonry Compatibility
Matching mortar strength to your masonry material stands out as a critical engineering decision that prevents structural damage and guarantees long-term durability. You'll need to perform a mortar durability assessment to determine the ideal compressive strength that aligns with your existing masonry units.
When you're selecting mortar for tuckpointing, remember that stronger isn't always better. If you choose a mortar that's too strong, it won't allow for natural building movement and can cause your bricks or stones to crack. Your goal is to achieve masonry joint compatibility where the mortar acts as a sacrificial component, wearing away gradually rather than causing damage to the surrounding materials.
For historic buildings, you'll typically want Type O or Type N mortar, which offer lower compressive strengths suitable for softer masonry materials. Modern structures often require Type S mortar for its higher strength and weather resistance. During your assessment, you'll need to take into account factors such as wall exposure, local climate conditions, and the original masonry's physical properties. This technical approach guarantees you're maintaining structural integrity while preserving your building's essential weatherproofing characteristics. Additionally, consider consulting with a professional experienced in masonry restoration to ensure the best results for your project.
Testing Methods for Proper Selection

To guarantee you're selecting the correct mortar for your tuckpointing project, you'll need to conduct both field and laboratory tests of the existing masonry. In the field, you can perform basic hardness tests using a metal scraping tool and assess the mortar's friability by crushing samples between your fingers. For the most accurate results, you'll want to send mortar samples to a qualified masonry testing laboratory where they'll analyze the material's composition, compressive strength, and water absorption rates. This ensures that the selected mortar meets the required standards for masonry restoration and enhances the overall durability of your structure.
Field Testing Assessment Methods
Several field testing methods can help determine the most suitable mortar for your tuckpointing project. You'll need to evaluate both the existing mortar and potential replacement materials through established field testing techniques. Begin by performing a simple scratch test using a sharp metal tool to assess the mortar's hardness and friability. This basic assessment protocol provides immediate feedback on mortar consistency.
Next, you'll want to conduct a water absorption test by placing drops of water on the mortar surface and timing how quickly they're absorbed. This indicates the mortar's porosity and helps match it with compatible replacement materials. Additionally, perform a color comparison by wetting both the existing and proposed mortars, as moisture reveals true color matching potential.
For more precise results, extract small mortar samples from inconspicuous areas and conduct crushing resistance tests. You can also perform acid digestion tests to determine the approximate mix proportions of the existing mortar. These field assessment protocols guarantee you're selecting a replacement mortar that matches both the physical and visual characteristics of your building's original materials. Furthermore, consider the importance of high-quality materials in achieving a lasting tuckpointing solution for your commercial building.
Laboratory Analysis Best Practices
While field testing provides initial insights, laboratory analysis offers definitive scientific data for mortar selection. You'll want to submit samples to an accredited testing facility that specializes in masonry materials. The laboratory testing process evaluates essential properties including compressive strength, water absorption rates, and material durability under controlled conditions.
When sending samples for analysis, you'll need to provide both existing mortar from your building and potential replacement options. The lab will conduct standardized tests following ASTM specifications, measuring physical properties, mineral composition, and aggregate ratios. They'll assess compatibility between existing and new materials to prevent adverse reactions that could compromise your restoration work.
Your laboratory report should include detailed findings on salt content, porosity, and vapor transmission rates. These metrics help you make informed decisions about matching historical mortars while meeting modern performance requirements. You'll receive precise mixing ratios and curing specifications based on the test results. Remember to share these laboratory findings with your masonry contractor to guarantee they understand the exact requirements for your tuckpointing project's success.
Frequently Asked Questions
What Is the Average Cost per Square Foot for Tuckpointing Materials?
You'll find that tuckpointing material costs typically range from $5 to $12 per square foot. Your average pricing will vary based on material types you select, including standard Portland cement mortar ($5-7), lime-based mortar ($7-9), or premium historic restoration mortars ($9-12). Keep in mind that you're joining a community of property owners who understand that higher-quality materials, while more expensive initially, often provide better long-term value for your investment.
How Long Does Properly Applied Tuckpointing Mortar Typically Last?
When you've properly applied tuckpointing mortar, you can expect it to last between 25-30 years under normal conditions. However, your mortars lifespan will depend on several factors: local climate, building exposure, and initial workmanship quality. For ideal tuckpointing durability, you'll want to guarantee proper curing time and use mortar that matches your building's original composition. Like many fellow building owners, you'll find that regular inspections every 5-7 years help maintain longevity.
Can Tuckpointing Be Done During Winter Months?
While you can technically perform tuckpointing in winter months, it's not recommended due to the challenges winter weather poses to proper mortar curing. You'll need temperatures consistently above 40°F (4°C) for at least 24 hours after application. If you must proceed, you'll want to use heated enclosures and specialized cold-weather mortar mixes. Remember, you're part of a community of property owners who prioritize quality work, so it's best to schedule during warmer seasons.
Should Different Mortars Be Used for Different Areas of the Building?
Yes, you'll need different mortar types based on various area considerations of your building. For below-grade areas, you'll want Type M mortar for its high compressive strength and water resistance. Type N works best for exterior walls above grade, while Type O is ideal for interior walls. You'll also need to match mortar strength to your existing masonry to prevent damage. Let's verify you're using the right mortar for each specific application.
How Soon Can a Building Be Pressure-Washed After Tuckpointing?
You'll need to wait at least 7 days after tuckpointing before pressure washing your building to guarantee proper mortar curing. However, for best results, it's recommended that you wait 28 days – this allows the mortar to reach its maximum strength. If you're working in cold or damp conditions, you might need to extend this waiting period. When you do pressure wash, keep the pressure below 1000 PSI to protect your newly tuckpointed joints.